On-page SEO is all the optimisation that happens ON a specific page on your website (eg, a blog post).
On-page optimisations should be targeted to the keyword you have chosen for this page.
Example: If you are targeting the keyword ‘how does SEO work’ on a blog post, everything on your post page should be fully optimised for the keyword ‘how does SEO work’.
What are the most important on-page SEO lessons to remember?
- Don’t optimise more than one page for the same keyword!
- When using Yoast, you don’t have to get ALL the dots green (all green dots could mean you’ve over-optimised your page).
- Write for humans first, and search engines second.
- Make sure your content is easy to read, useful, and informative.
- Avoid walls of text – split it up with headings and images.
The best tool for on-page SEO on WordPress
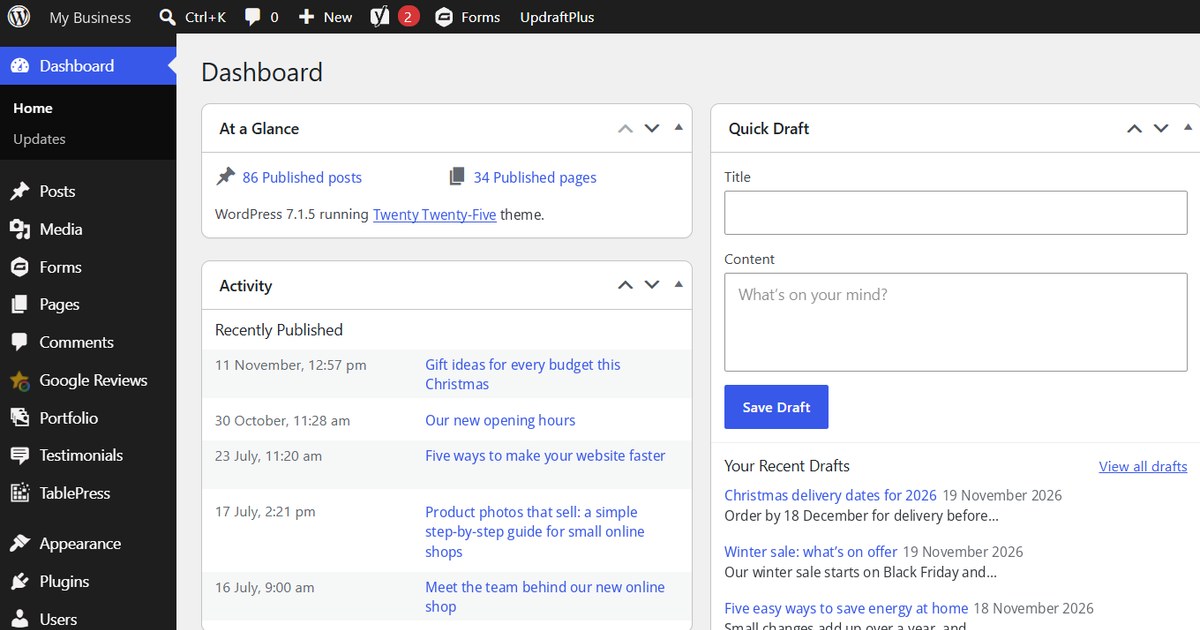
We love Yoast! It’s an excellent plugin that does even more behind the scenes. Our team of experts think the premium version is worth the expense. It’s great for SEO professionals and site owners alike.
This means you can optimise your own content if you want to. It’s also great for anyone who’s starting with SEO (search engine optimisation). It’s intuitive and clearly indicates what changes you should make to your page.
If you aren’t yet ready to outsource your SEO, Yoast is a solid place to start. Of course, there’s a lot more to SEO, but you’ll get there. Start small, and your efforts will compound.
How do I start on-page SEO?
You can start working on your on-page SEO yourself until you are ready to outsource to a professional SEO agency.
The optimisation steps are straightforward. Concentrate on one page at a time and pay attention to the details. Make each change only where it makes sense for your content.
Start with some keyword research to make sure you’re optimising your pages for the right keywords. Choose target keywords that work within your organisation, and that your customers use to search for you online. Your most general topics should be the most important sections. All your content should fit within these categories.
A great way to start is to build a website content plan – download a free template here.
Step 1: Choose the target keyword for your page
First, you must choose what target keyword you would like the page to rank for.
All your SEO efforts will revolve around this keyword.
PRO TIP: Your target keyword is more likely to be a phrase – sometimes referred to as a long-tail keyword. Example: Ranking for ‘dog’ would be almost impossible, but ranking for ‘buy a grey dog bed for a large dog’ is much more likely.
The bonus of optimising for specific keywords is that people who click these search results are usually better-qualified leads.
Step 2: Write excellent content
Before you can optimise anything, you must write excellent content that tells your reader everything they need to know about your keyword.
Your content should also answer the search intent behind your target keyword. (‘Search Intent’ is the main goal of someone who types a query into a search engine.)
You need high-quality, relevant, trustworthy, and authoritative content on your website to stand a chance of ranking in search results.
So, ask yourself:
- Is your content informative and relevant?
- Does it answer the search intent of the Google user searching for your target keyword?
- Are you offering useful information, in as much detail as a user might need?
If you answered no to any of these questions, go back and rewrite your content.
Step 3: Follow Yoast’s checklist for on-page SEO
Yoast calls a target keyword a ‘keyphrase’ – they mean the same thing. Scroll to the Yoast panel at the bottom of the page you are optimising. Type your target keyword into the ‘Focus keyphrase’ box to start the Yoast SEO check.
The Yoast panel will guide you to check:
- Keyphrase length – it must not be too long or too short
- Previously used keyphrase – make sure your target keyword hasn’t been used before
- Keyphrase in slug (slug is part of the page URL)
- SEO title width – it must not be too long or too short
- Keyphrase in SEO title
- Keyphrase in the introduction
- Keyphrase in meta description
- Meta description length – it must not be too long or too short
- Text length – it must not be too short
- Images – do you have any, and do they have proper alt tags?
- Internal links – do you have enough?
- Outbound links – do you have enough?
Yoast will notify you if any of these elements are missing or implemented incorrectly so that you can fix them.
It also offers a ‘Keyphrase distribution’ check if you have the premium plugin.
When optimising, please avoid keyword stuffing. This is when you repeat the same keyword (or similar phrases) in your content to try to manipulate search rankings. This is very bad for your SEO and should be avoided.
Step 4: Check your headings and header tags
Header tags are used to highlight headings and subheadings on your web page. These headings are usually used in descending order of importance from H1 to H6. These tags tell users and search engines which content is important, and how important it is on the page.
- You must only use ONE H1 tag per page.
- EVERY page must have an H1 heading.
- Heading tags should be in logical order, for example:
- H1 Heading
- H2 Heading
- H3 Heading
- H3 Heading
- H3 Heading
- H2 Heading
- H3 Heading
- H3 Heading
- H4 Heading
- H2 Heading
- H1 Heading
- You should include your target keyword in SOME of your headings.
Step 5: Check the readability of your text
Users skim-read most articles, so your content must be easy to read.

Yoast’s Readability tab will check:
- Passive voice – don’t use too much
- Consecutive sentences – don’t use too many
- Subheading distribution – use enough subheadings and spread them evenly throughout your text
- Paragraph length – they must not be too long
- Sentence length – they must not be too long
Yoast also offers a ‘Word complexity’ check with its premium plugin. This checks whether your vocabulary is accessible enough for a broader audience. You should write in a simple style so it can be read and understood by searchers. This makes a big difference to your user engagement.
When checking your readability, keep your audience and your topic in mind. Technical topics often require more complicated language and are read by people who can understand that complexity. More mainstream topics are likely to be read by a wider range of people, so you’ll want to make your text simpler to understand.
Step 6: Check inclusive language
Check this tab to see if Yoast has picked up any problematic phrases in your text that you should remove.

Step 7: Check internal links TO your page
Make sure that several other pages link TO the page you’re optimising.
If nothing links to your page, it is called an ‘orphan page’. Orphan pages usually can’t be crawled by search engines like Google. They also can’t be found by users unless you send them a direct link to the page.
Make sure that any pages you want to rank have links pointing to them.
Step 8: Check page speed
Page speed is an extremely important ranking factor on search engines. You should check each page you optimise to make sure it’s fast enough. If it loads too slowly, users will close the page. Google can track this and could decide that your page provides a bad user experience. Pages with a poor user experience will fall in search results or disappear from the top 100 completely.
You should test your page using tools like PageSpeed Insights (a Google tool) and GTMetrix.
Check the test results to see how you can speed up your page. Often, elements like image size, poor plugin or theme code, or complicated layouts slow down your loading speed. Some of these you can probably fix yourself. Others might require a professional web designer.
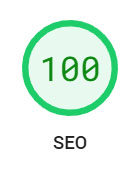
PRO TIP: Pay close attention to the SEO test results on Google’s PageSpeed Insights. If you see any issues here, you should really try to fix them.
Step 9: Check mobile responsiveness
Make sure your page layout is viewable correctly on all devices and browsers. You should test your page on different operating systems (Windows and OS), different browsers (Chrome, Safari, Firefox, etc.) and different devices (desktops, laptops, tablets, and phones).
Most people don’t have access to this full range of devices, so testing tools like TestingBot are really useful.
Please adjust your page design and layout until it works well on all devices and software.
In some cases, you might even need to consider changing your website’s theme if it is not fully responsive. Poorly coded WordPress themes can waste a lot of time when optimising your on-page SEO. If you keep running into mobile issues, consider switching to a more responsive theme.
Step 10: Request that Google index your optimised page
Once you have optimised your on-page SEO, go to your Google Search Console account. Paste your page’s URL into the top bar ‘Inspect any UTL’ to prompt Google to crawl and index your page as soon as possible.

Google doesn’t promise to crawl your page if you request it, but you should try anyway. It often makes a big difference!
On-page SEO is extremely powerful
If you haven’t got your on-page SEO correct, there’s very little chance that your page will rank in any search results.
It’s worth noting that even if you follow all of Yoast’s guidelines, it doesn’t guarantee your page will start ranking. The guidelines serve as a live checklist, so you can test your page in real time to see how your on-page SEO is performing.
Yoast’s well-known ‘green dots’ generally mean that you are following best practices. This gives your page the best chance of ranking, but doesn’t guarantee it’ll rank. They are a checklist only.
There are many other aspects of SEO to consider, but on-page SEO is a great place to start.
Remember, always optimise for humans FIRST.
Make sure your pages are easy for humans to read, not for search engines. If people read and enjoy your content, there’s an excellent chance the search engines will too, and it will rank.
If you have any questions about on-page SEO, please get in touch with our expert team.